Data Entry Assistant (DEA) 2.0 Procedures
Introduction
This section contains information on the practices for preparing occurrence records for entry into the xBio:D database using the Data Entry Assistant (DEA) 2.0. The DEA2 web application requires that occurrence records be present in a properly formatted data entry template (File:Data Entry Template 28-Aug-2014.xls) file according to the Data Transcription Procedures protocol or a properly pre-formatted data entry template File:DEA data entry template-full 28-Aug-2014.xls.
The DEA Processing steps do not need to be followed in the order defined in this document, but all of the parts specified do need to be completed when starting from verbatim label data. If pre-formatted specimen data is used, DEA2 will check to see if the specified values are valid according to xBio:D Controlled Vocabularies.
Contents
DEA Preparation
Login
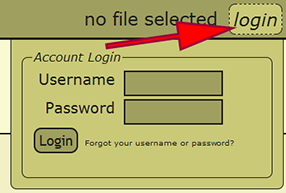
Go to the Data Entry Assistant (DEA) 2.0 web application, click on the login link in the menu on the upper-right hand part of a page, and log in. An xBio:D user account is required to prepare a file within DEA2. If an xBio:D account is needed, go to the DB Manager web application, and sign up for an account.
File Upload
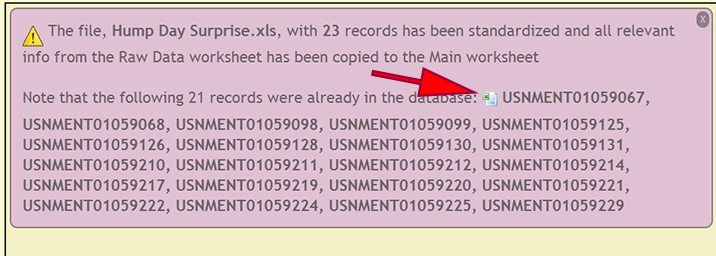
After logging in, the specimen data file, which is an Excel spreadsheet, must be uploaded into DEA2. Go to File -> Load File from the menu to go to the Load File page. Once there, click on the Browse button and select the Excel file to upload. Click the Upload button and the Excel file will be uploaded and standardized in DEA2. Standardization involves created two additional worksheets, Main and Localities, and copying the specimen records from the Raw_Data worksheet to the Main worksheet, if the file has not already been standardized or pre-formatted. During standardization, DEA2 will verify the consistency of certain fields to make sure that they conform to expected values, i.e., dates are properly formatted, numbers do not contain improper characters, etc. DEA2 will also assure that each cuid is unique within the file and report those that are duplicates before proceeding. The Main worksheet will contain the DEA-formatted information necessary for specimen record entry into the xBio:D database. After standardization is completed, the uploaded file is set as the current loaded file and is available to begin DEA Processing.
When specimen records are already within the xBio:D database, a list of cuids is displayed so the user may use the list as a reference to verify that the existing records within the database and file are authentic. There records can be downloaded within an Excel spreadsheet by clicking on the Excel logo preceding the list of records.
Note: File upload and standardization is variable and may take a few minutes to complete depending on the number of records within the Excel file.
Load Existing File
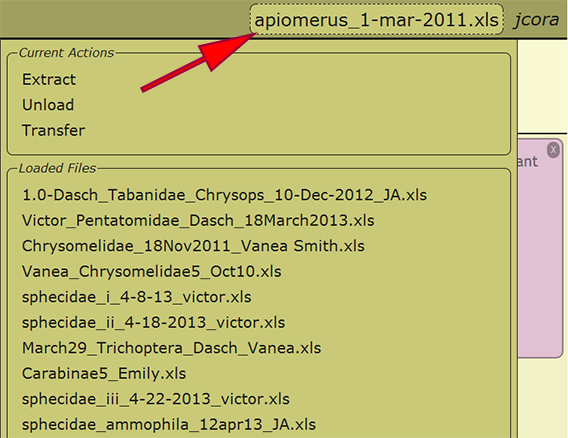
When an Excel file has been uploaded and initially loaded, the file may be reloaded from any computer in which the user has logged into DEA2. By selecting the currently loaded file or the text "no file selected" next to the username in the menu at the top right of a page, a list of the loaded files available to the user as well as some actions that may be performed on the file are presented. Any of the loaded files may be reloaded by clicking on the filename, and the recently loaded file will be displayed within the menu once loaded. Switching to a different file at any time is perfectly appropriate and will not cause any harm.
Search for File or cuid
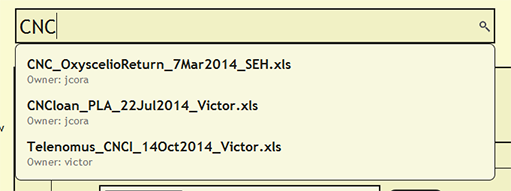
To see if a file has already been uploaded, search for the file from the search bar near the top of each page within DEA2. The search will find and list the owner of any currently loaded file that contains the search string. By searching for a cuid, the search will report the currently loaded file or files in which the cuid is present.
DEA Processing
Taxonomic Name Checking
Every taxonomic name that is specified within a taxonomic column, viz., order, superfamily, family, subfamily, genus, species, and subspecies, must be present within the xBio:D database in order to enter a specimen record. Checking that these taxa are in the database is accomplished by clicking on Batch -> Check Taxa within the DEA2 menu at the top left of a page, then clicking the YES button next to Begin processing? on the Check Taxa page. DEA2 will take the taxa from the "Raw Data" worksheet, verify that they are in the database, then copy these values to their corresponding column in the "Main" worksheet. A taxonomic identification for a specimen record that is of a higher rank than family, i.e., not identified to family or more specific, will have the xBio:D database ID for that taxon placed within the family column for the specimen record. This translation will occur automatically "behind-the-scenes" during taxon checking within DEA2.
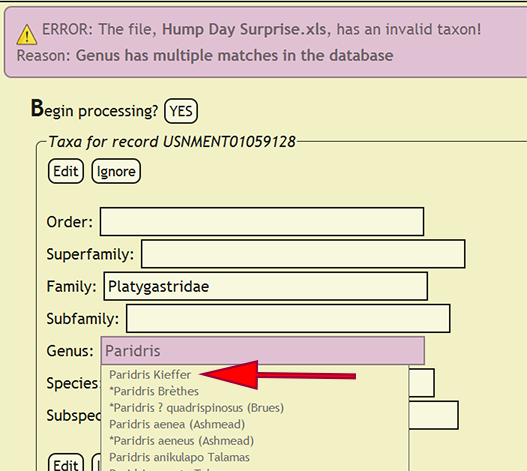
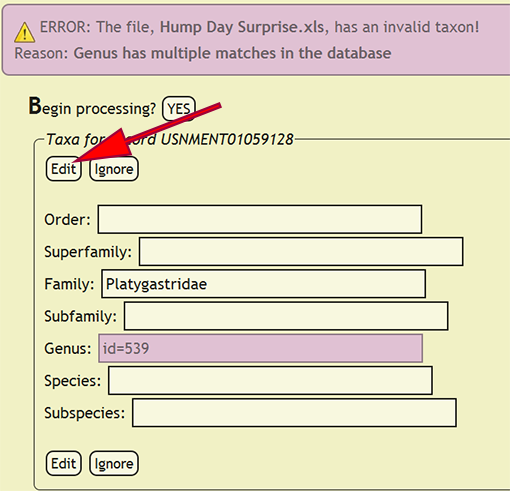
If a taxonomic name is not in the database, a form populated with the taxa for the offending specimen record will be displayed and the name that is not present will be highlighted. The form will allow the user to select the correct taxonomic name for a rank from an interactive search box, or ignore the current taxa and move on to the next group of names. If a taxonomic name has more than one taxon associated with it, i.e., homonymy, then the user can select the correct taxon with author combination to replace the homonym with its xBio:D database ID. Once the taxonomic changes have been specified, click the Edit button to reflect the modifications into DEA2 or press the Ignore button to ignore the taxa until later during specimen record entry. Batch checking of the taxa will resume once one of the two button are clicked.
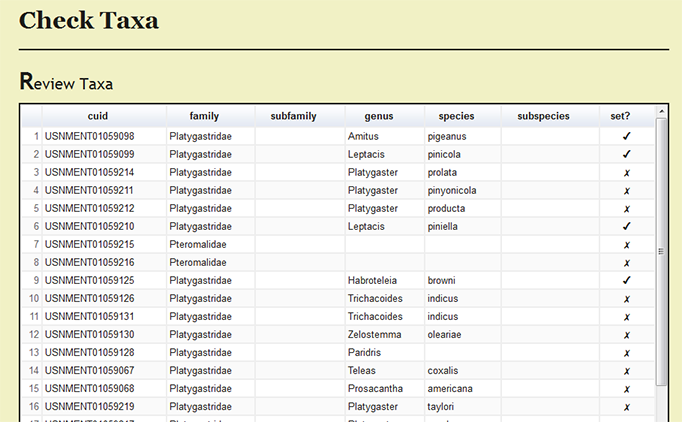
Under Page Options on the left menu, users can select Review set taxa to review which specimens records have been processed and the current taxonomic names for the records.
Users with authority over a taxonomy can enter new taxonomic names within the DB Manager web application.
Changes from DEA to DEA2
- All actions performed within DEA2 are recorded, which requires an xBio:D user account. This allows a user to process a file seamlessly between multiple computers.
- DEA2 is at least 4 times faster than the original DEA, and also contains more consistency checks and better error handling.
- Verbatim label fields do not need to be merged with the comments field prior to entry into DEA2 unlike the original DEA.
- DEA2 can handle many more specimen records in a single file. Whereas DEA maxed out at ~500 specimens, DEA2 has easily processed files with as many as 8000 specimens.
- DEA2 performs some consistency checks upon upload to verify that cuids are unique within the file, dates are properly formatted, required fields are present, etc. After the consistency check, DEA2 will report any specimens within the file that are already located within the xBio:D database.
